MCP Fabric has been shut down. Thank you to everyone who used the service.
mcp.json for clients like Cursor or VSCode.Note that when you edit your server configuration, you will need to refresh your client.
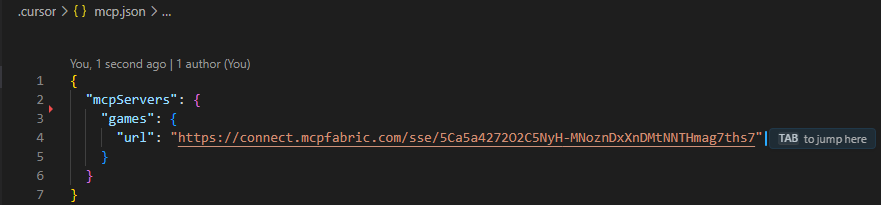
.cursor directory in the root of your project if you haven't already.mcp.json file in the .cursor directory.

mcp.json.

mcp.json file.
CTRL + SHIFT + P to open the command palette and go to Cursor Settings.

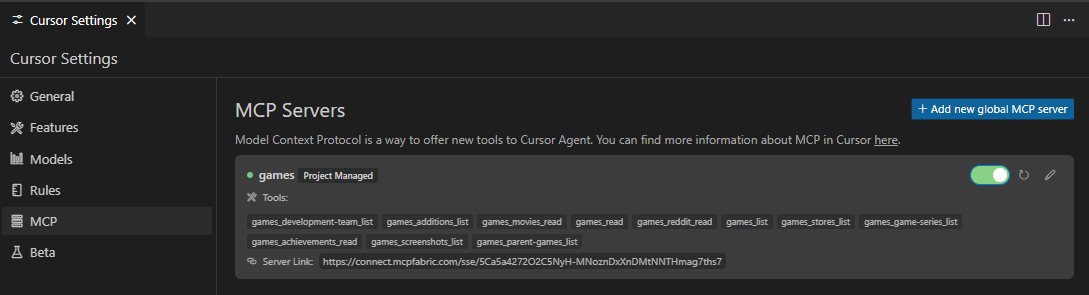
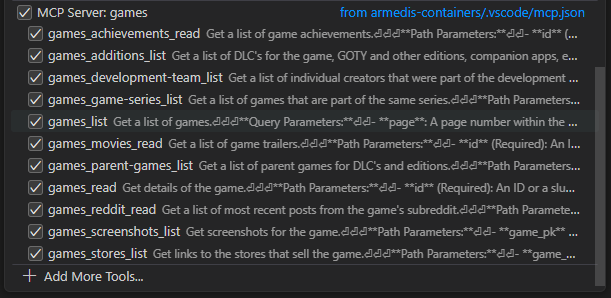
You may occassionally run into issues where the MCP client can't connect. If this happens, try clicking the refresh button in your client and/or the restart server button in your server dashboard.
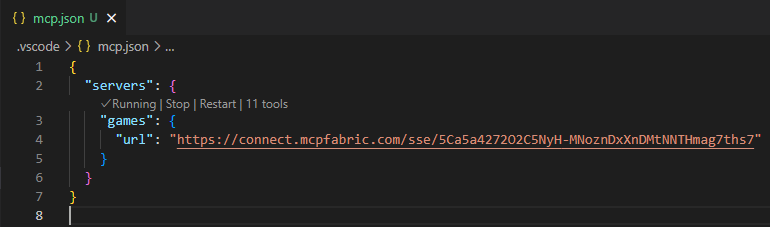
.vscode directory in the root of your project if you haven't already.mcp.json file in the .vscode directory.
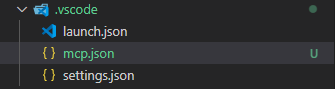
mcp.json.
mcp.json file.